AT&T Voice DNA® User Support
Set AT&T Voice DNA Assistant Options
Before you can log in to AT&T Voice DNA® Assistant for the first time, you must first set up your account on the Voice DNA Assistant Options page.
Options include:
- General
- Account
- Outlook Integration
- LDAP Integration
- Updates
- About
Note: Check that your network firewall is not blocking Port 2209 (with protocol XML over TCP and secure TLS) or Port 80 (with protocol HTTP).
To access the Options page
- Open Microsoft® Outlook®, and then click the Add-Ins tab. The AT&T Voice DNA Assistant toolbar appears.

- Click the Options icon
 . The VDNA Assistant Options page appears, with General selected.
To set account options
- Click Account.
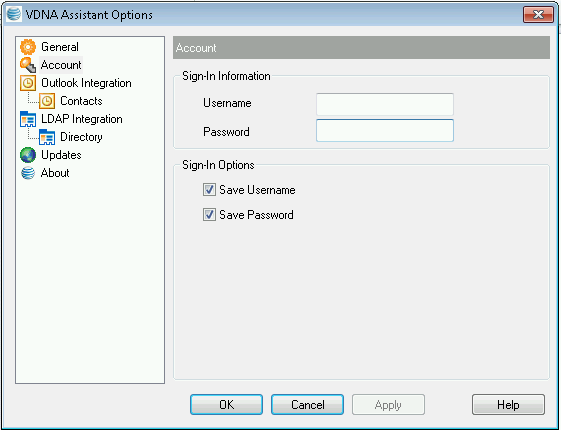
- Enter your username and password.
Note: If you've forgotten your password, open the AT&T Voice DNA User Dashboard and click PROFILE. Under External Client Application Credentials, click Send password by email. You can also change your password from the Profile Information page.
- Select your AT&T Voice DNA Assistant sign-in options:
- To automatically enter your username each time you log in, check Save Username.
- To automatically enter your password each time you log in, check Save Password.
- Click Apply, and then click OK.
To set general options
- Click General.
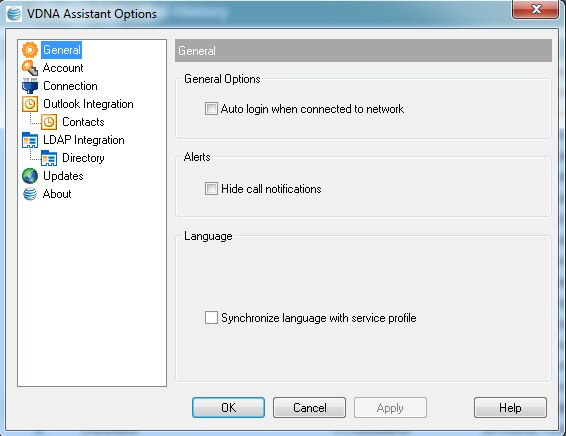
- Set the following options:
- To log in to AT&T Voice DNA Assistant automatically when you're connected to the network, under General Options select Auto login when connected to network.
- To hide incoming and outgoing call notifications, under Alerts select Hide call notifications.
Note: English is the default language and no other choices are available. The Synchronize language with service profile option is not available.
- Click Apply, and then click OK.
To set Outlook Integration options
- Click Outlook Integration.
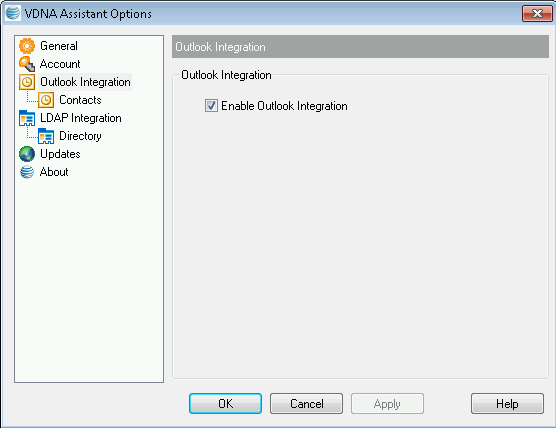
- To search for and view information stored in Outlook, checkEnable Outlook Integration and click OK.
- If you checked Enable Outlook Integration, specify your Outlook contacts options. Click Contacts.
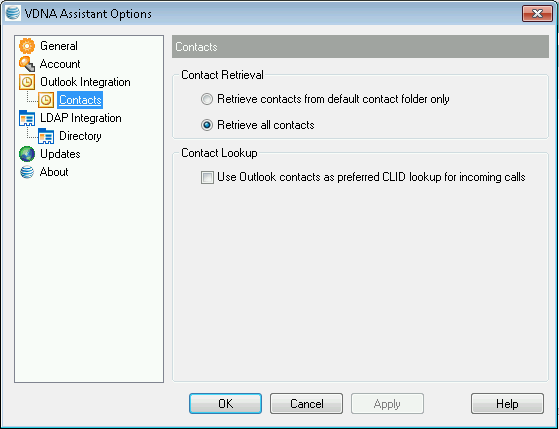
Customize your search capabilities:
- To search only for information located in your Outlook Contacts folder, select Retrieve contacts from default contact folder only. Items matching search criteria from your AT&T Voice DNA directory will also appear.
- To search for information located in any Outlook folder, select Retrieve all contacts. Items matching search criteria from your AT&T Voice DNA directory will also appear.
Customize your incoming call information:
- To display incoming caller information from the Outlook contacts list, select Use Outlook contacts as preferred CLID lookup for incoming calls. Caller information from your AT&T Voice DNA directory will not appear.
- Click Apply, and then click OK.
To set LDAP Integration options
The LDAP Integration option enables you to configure settings for the LDAP (Lightweight Directory Service Protocol) server connection, needed for LDAP directory lookup. For more information, contact your administrator.
Note: LDAP Integration uses a customer-provided directory server. Your organization is responsible for configuration and use of the LDAP Integration within the Voice DNA Assistant.
- Click LDAP Integration.
- Click Enable LDAP integration.
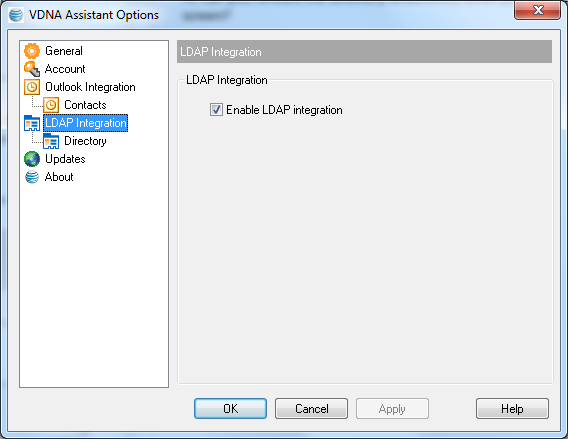
- Click Apply, and then click OK.
- Configure the Directory settings so that AT&T Voice DNA Assistant can connect to your directory server:
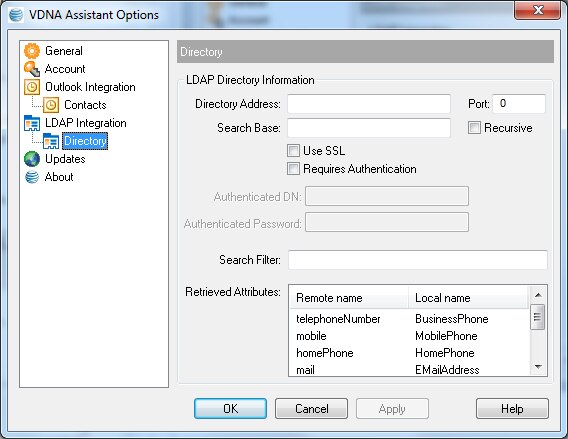
- Click Directory.
- Enter the directory address, which specifies the network address of the LDAP directory server.
- Enter the port number for the LDAP server.
- Enter the search base, which specifies the directory server tree location that AT&T Voice DNA Assistant accesses when searching for a name.
- To search all sub-trees within the search base, check Recursive.
- If you want to use Secure Sockets Layer (SSL) when connecting to the directory server, check Use SSL. If you check Use SSL, you may need to use a different port.
- If you want to require a username and password before the directory server conducts a search, check Requires Authentication.
- Enter the Authenticated DN, which is the user name that Voice DNA Assistant provides when connecting to the directory server (when Requires Authentication is checked.)
- Enter the Authenticated Password, which is the password that corresponds to the Authentication DN (when Requires Authentication is checked.)
- To add an additional search filter that you can apply to all directory searches, enter the search criteria in the Search Filter field.
- Retrieved attributes controls the way that AT&T Voice DNA Assistant maps attributes returned from the directory server to columns displayed in the list of search results. In each row of the table, enter an LDAP attribute in the Remote Name column. In the Local Name column, enter a corresponding local attribute. Typical remote name values are cn, sn, telephoneNumber, mobile, homePhone, and mail.
To view connection options
If you want to view your connection settings, click Connection. Connection selections are already set for you. Note that you don't need to set these options.
To set update options
If your system is connected to a proxy server, the Updates option enables you to enter the proxy server information needed to check for and automatically download AT&T Voice DNA Assistant updates.
To determine if your system uses a proxy server, check with your administrator.
Note: At this time, an automatic update takes effect only when the Windows® User Account Control Setting is set to Never Notify, which your administrator may not recommend. When Voice DNA Assistant has a critical update, you should be notified with an email that includes update instructions.
- Click Updates.
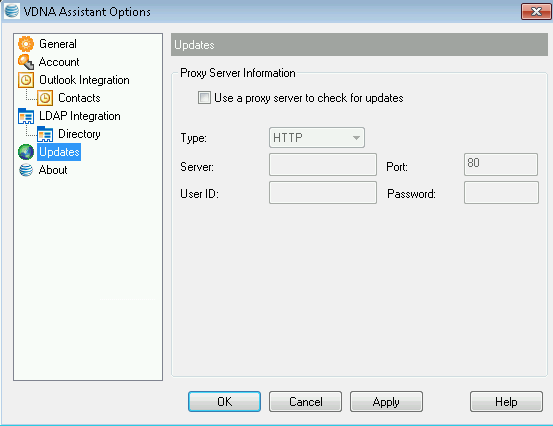
- Leave the Type default setting (HTTP).
- Enter the Web address (URL) for the proxy server. For more information, contact your administrator.
- Leave the Port default setting (80).
- If your proxy server requires a user ID and password for authentication, enter this information. For more information, contact your administrator.
- Click Apply, and then click OK.